Timelapses
Time doesn’t just tell a story, it reveals one. With built-in timelapse creation from your 24/7 webcam streams, you can turn hours, days, or even seasons into a few mesmerizing seconds of motion and change.
Instead of static snapshots or endless live footage, timelapses create cinema from the routine, transforming everyday scenes into shareable moments that grab attention and spark curiosity.
Timelapses can help you and your business punch above their weight in the digital crowd. For a ski resort, this means turning a powder day into an irresistible highlight reel that shows the slopes from dawn to dusk. Restaurants can capture lunchtime rushes or sunset terrace scenes that draw hungry eyes on social media. A beachside café might showcase tides rolling in and out, while a city storefront could chronicle the buzz of pedestrian traffic throughout the week. These dynamic mini-stories boost engagement, enrich your online presence, and give viewers a reason to come back.
Create your own timelapses
Section titled “Create your own timelapses”This may sound intimidating, but creating a timelapse with our builder is easy. In just a few clicks, you can create a timelapse and share it on your or your brand’s social media channels.
Navigate to the timelapses section and click the New timelapse button.
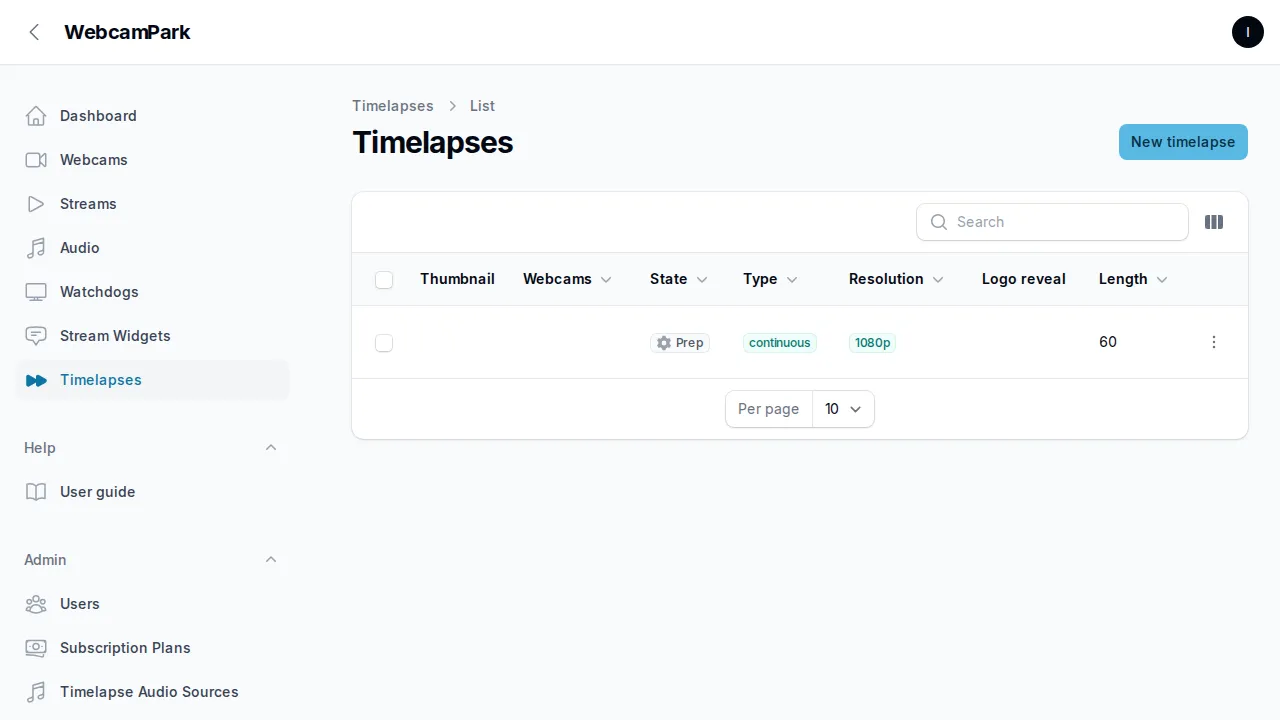
After you are redirected to the new timelapse page, you can start configuring your timelapse. There are many advanced settings available, but for now, let’s focus on the basics:
-
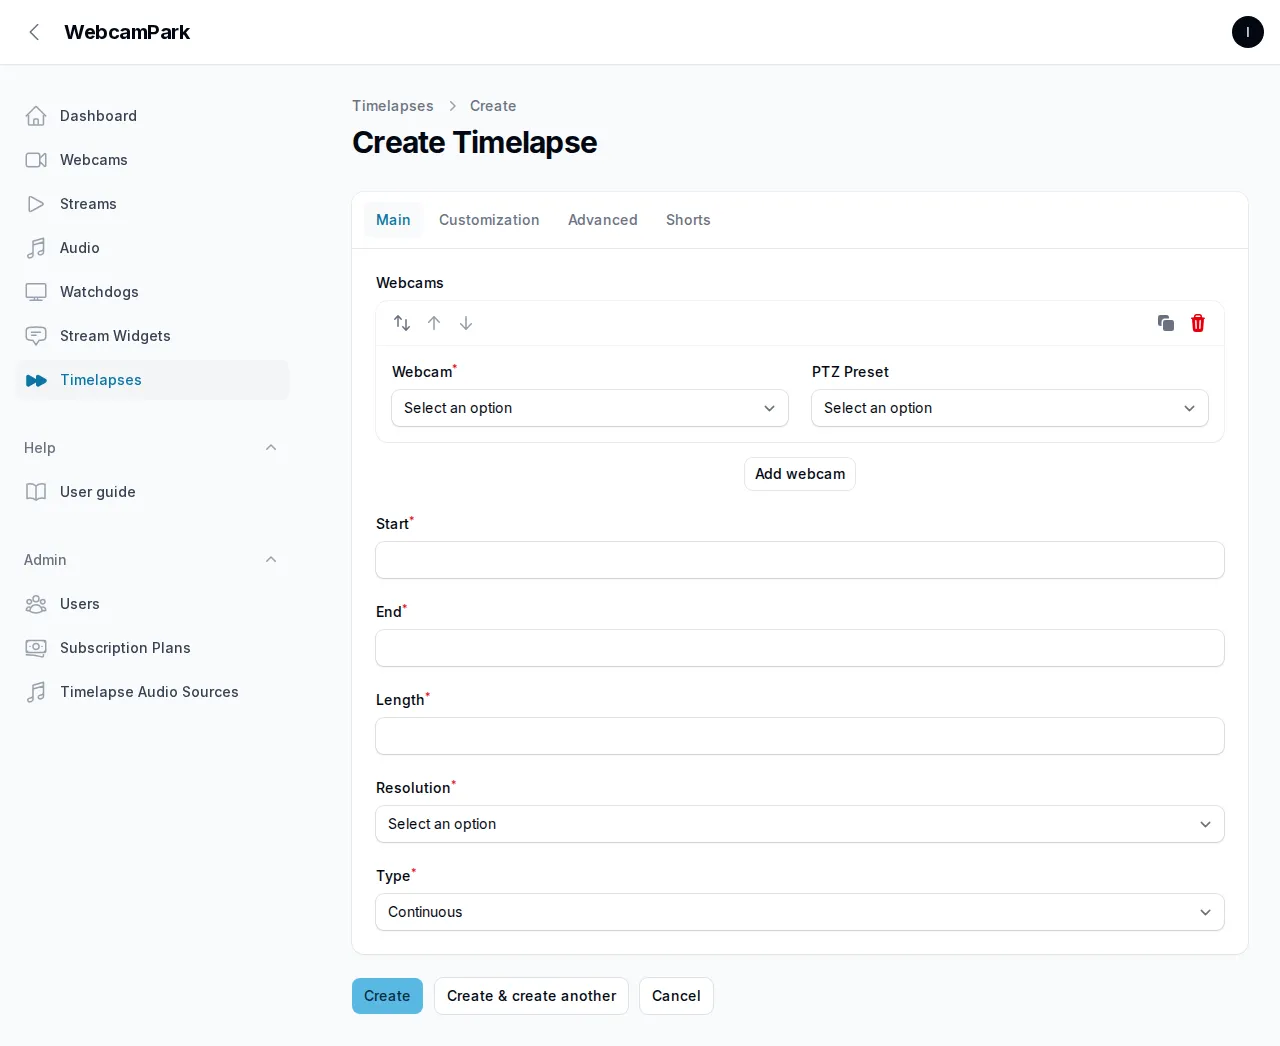
Select your webcams Choose the webcam you want to use for your timelapse by clicking the dropdown menu in the webcam field. The dropdown shows all webcams you have access to, either as the owner or as a manager. If your webcam supports pan, tilt, and zoom, select the PTZ position you want to use for the timelapse.
-
Select the timelapse range
Configure the start and end dates for your timelapse. The start date marks the first moment, and the end date marks the last. A wider range usually produces a more compelling result. Keep in mind that very short ranges may limit the length of the final timelapse based on available footage. -
Timelapse length
Set the desired length of your timelapse in seconds. We recommend short, engaging timelapses, as these perform best on social media. If there isn’t enough footage to reach the desired length, the timelapse will be shortened automatically. However, if the difference is too large, the timelapse will not be created. -
Resolution
The maximum resolution depends on your webcam’s capabilities. Note that higher resolutions and longer timelapses require more processing time and may increase costs. -
Timelapse type
There are two types of timelapses: continuous and periodic. A continuous timelapse plays from the start date to the end date without interruption. A periodic timelapse covers the same range but is split into daily segments. -
Click
Create
Customize yor timelapse while creating it.
Section titled “Customize yor timelapse while creating it.”You can customize the timelapse with audio as well. You can either upload your own audio file or select one of the built-in audio tracks provided by WebcamPark.
| Upload your own audio | Select audio | |
|---|---|---|
| When to choose | Use this when you already have a specific audio in mind that you own | Use this when you want to choose from the audio tracks provided by WebcamPark. |
| Steps | 1. Select Upload your own audio. 2. Choose an audio file from your local device. 3. Continue with the timelapse setup. | 1. Select Select audio. 2. Open the dropdown menu labelled Choose audio. 3. Select the audio track you want to use. |
| Notes | The uploaded audio will be used as the audio source for the generated timelapse. | The selected built-in audio track will then be used for the timelapse. |
Can I edit my timelapse after it is created?
Yes, and no. You can edit what logo reveal branding you use at the end of the timelapse, or you can add or change the audio track. You also can recreate the vertical timelapse for YouTube shorts, Reels, or TikTok. But when ot comes to the start date and end date, or resolution of the timelapse, you cannot change it. This is because over time we delete the original assets for your timelapses. This means that it might be impossible to recreate the same timelapse after a while. But feel free to create a copy of that config and tune it to your needs.