Streams — Create, View, and Edit
Welcome! This guide shows you how to view your streams, create a new one, and make quick edits — no technical background required. If you can follow simple steps and click Next, you’re all set.
What is a “Stream”?
Section titled “What is a “Stream”?”A stream is a live video your webcam sends to a platform like YouTube, Facebook, Twitch, or your own RTMP server.
- Your webcam captures video.
- The WebcamPark Streamer app sends it to your chosen platform using two details: a URL and a Key.
Before you start
Section titled “Before you start”- You can log into the WebcamPark Admin panel.
- You have at least one webcam in your account.
- You know where you want to stream (YouTube, Facebook, etc.). If not, you can still create the stream now and add the destination later.
Open the Streams area
Section titled “Open the Streams area”- Sign in to the Admin panel.
- In the left menu, click Streams.
You’ll land on the Streams list page. It shows each stream’s Title, whether it’s Live, its Status, the Webcam it uses, and the connected platform/channel.

What you can do here
Section titled “What you can do here”- Create a new stream (top-right button)
- Search and show/hide columns
- Edit or Delete any stream from the row actions
Tip: Make sure you can see the Streams heading and the New stream button.
Create a new stream (step-by-step)
Section titled “Create a new stream (step-by-step)”The app guides you through a short wizard with four steps.
1) Basics
Section titled “1) Basics”- Pick a Webcam (required). This is the camera your stream will use.
- Enter a Title (required). For example: “Morning Live at the Park”.
- Add a Description (optional). This helps you remember what the stream is for.
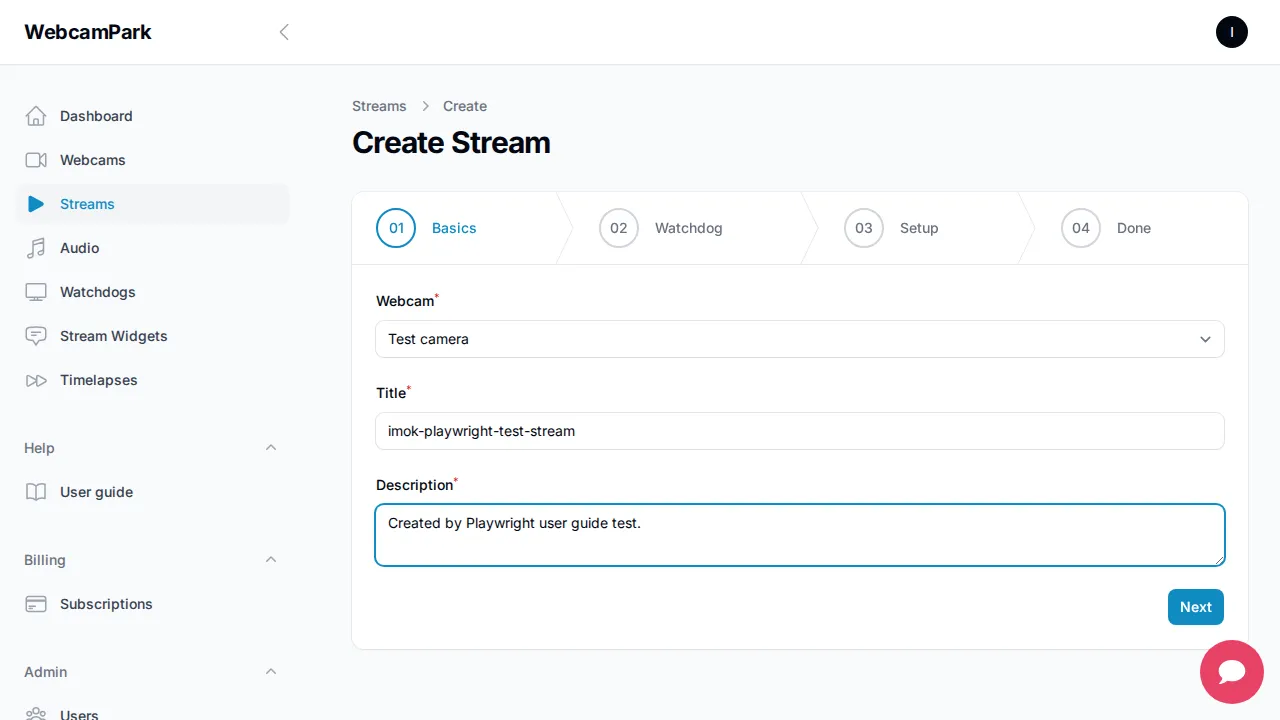
Press Next when you’re ready.
2) Watchdog (optional)
Section titled “2) Watchdog (optional)”The Watchdog can automatically keep your streaming apps running and restart them if needed.
- Not sure what to choose? It’s safe to leave the default and continue.
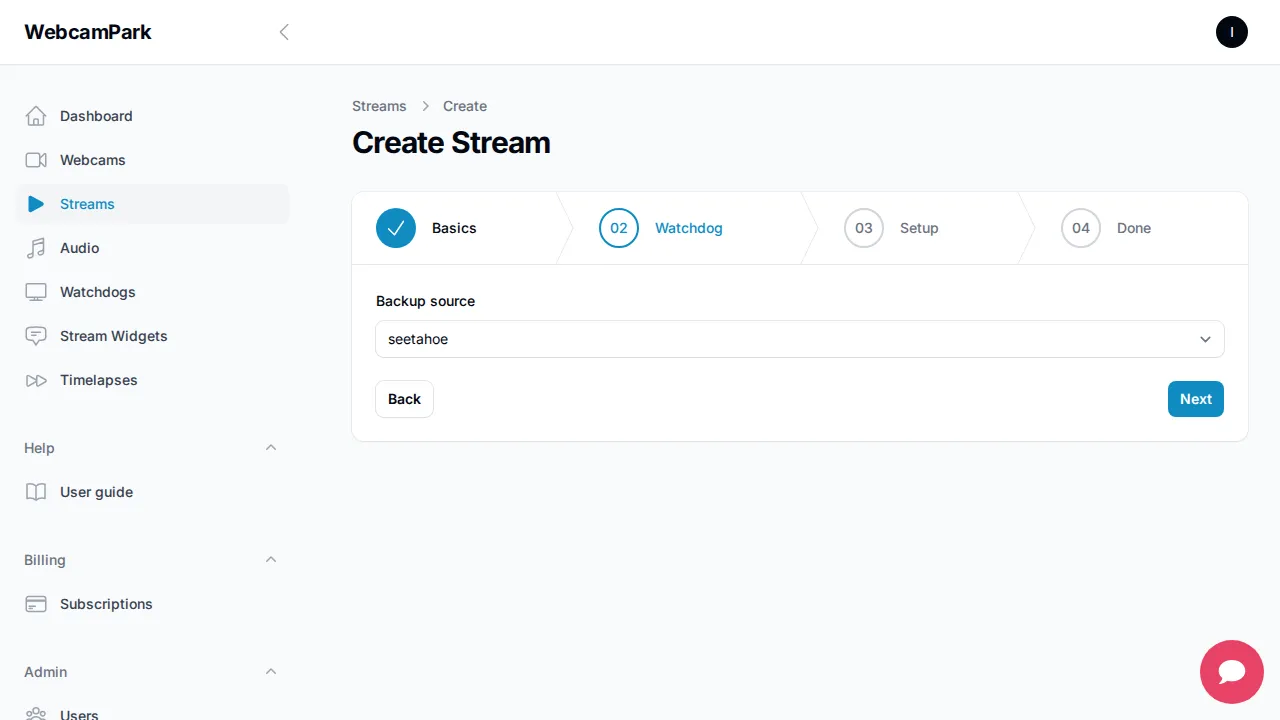
Click Next.
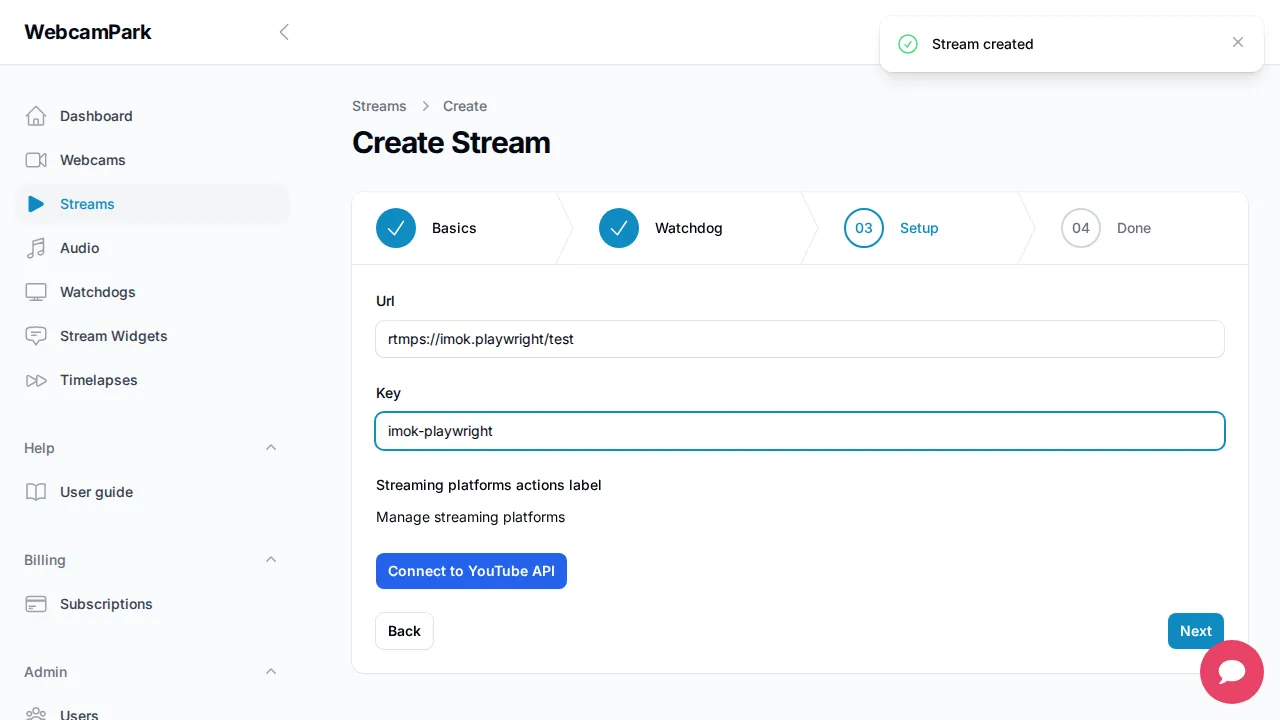
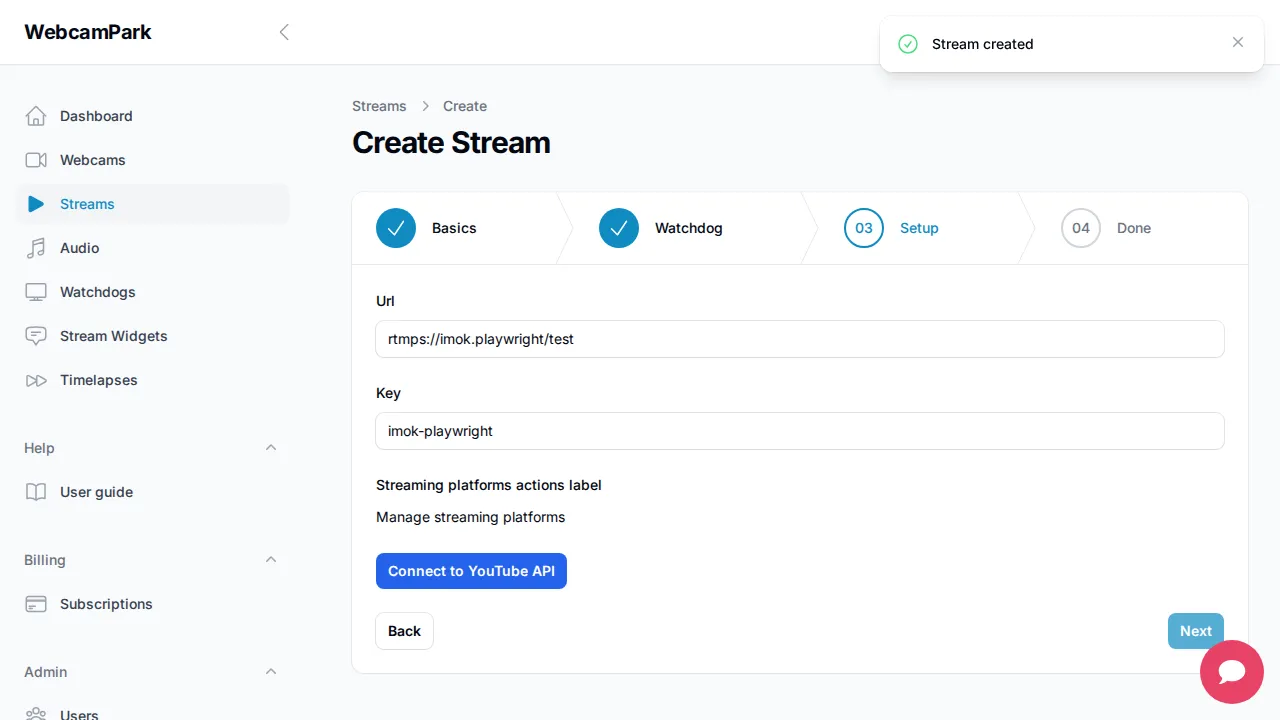
3) Setup (where your video goes)
Section titled “3) Setup (where your video goes)”Tell the system where to send your live video. You’ll usually get these from your destination platform:
- URL: Often looks like rtmp:// or rtmps:// (example: rtmps://live.example.com/app)
- Key: A secret code that identifies your channel/stream
Where do I find these?
- YouTube: Go to YouTube Studio → Create → Go live → Stream settings.
- Facebook: Live Producer → Stream setup.
- Twitch: Creator Dashboard → Settings → Stream.
Enter your URL and Key, then click Next.
4) Finish
Section titled “4) Finish”Success! You’ll see options to view the new stream or return to the list.
Friendly reminders:
- Double-check the Title and Webcam — they make your streams easy to recognize later.
- You can always come back and change the Watchdog, URL, or Key from Edit.
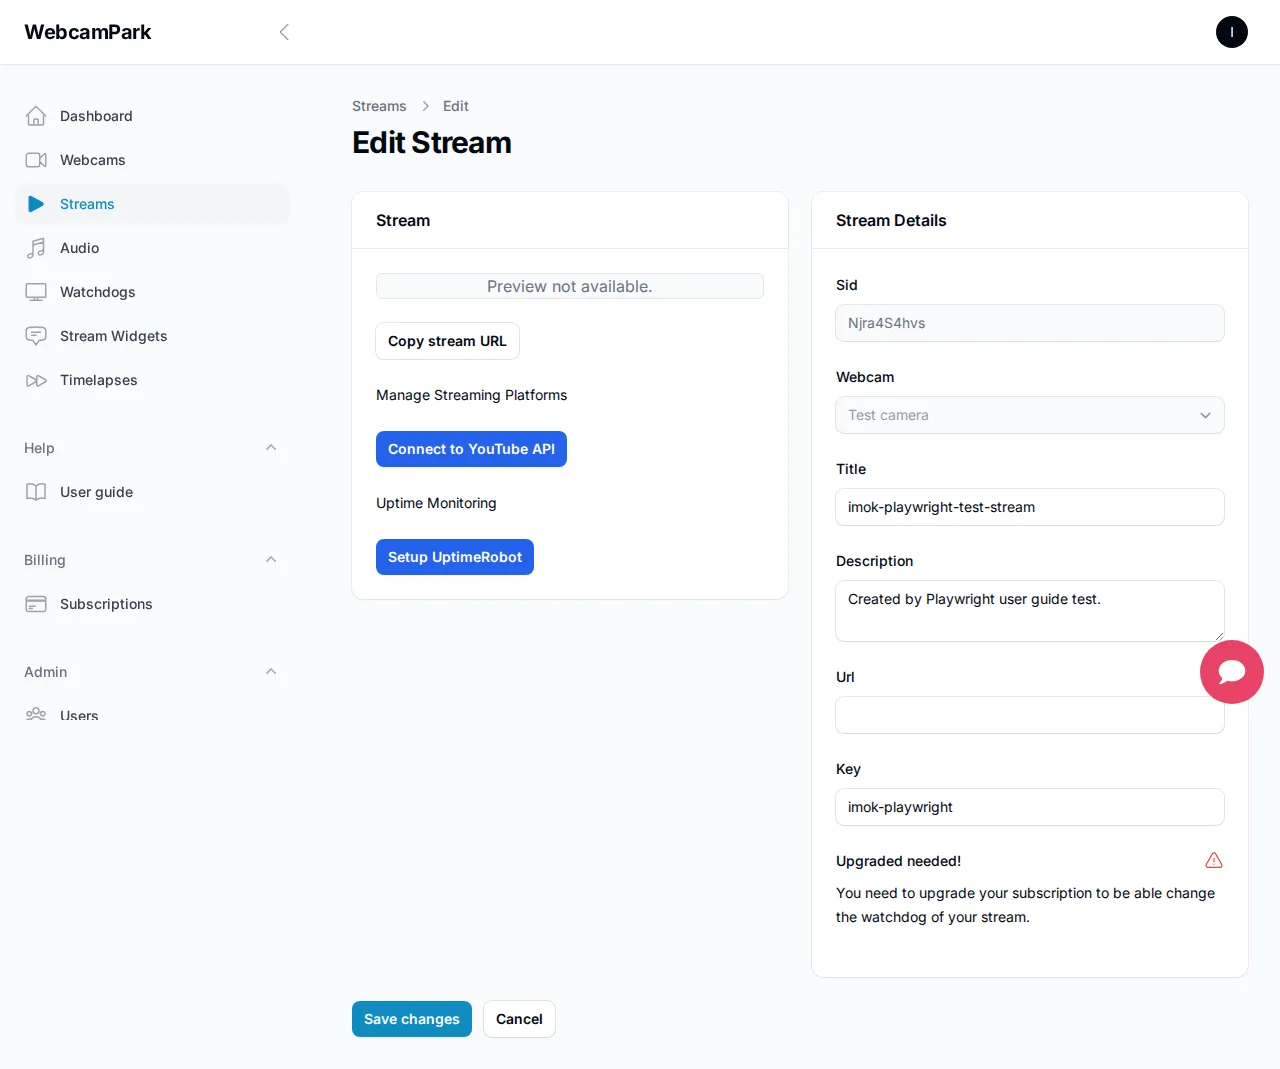
Edit a stream
Section titled “Edit a stream”- Open Streams from the left menu.
- Find your stream by Title.
- Click Edit in its row.
- Update what you need:
- Title and Description
- Streaming URL and Key
- Watchdog (if available)
- Save your changes.
Delete a stream
Section titled “Delete a stream”- From the Streams list, click Delete on the stream’s row and confirm.
- Deleting a stream removes its configuration. If your streamer app was connected, it will stop sending video for that stream.
Quick fixes (Troubleshooting)
Section titled “Quick fixes (Troubleshooting)”- I can’t find my Webcam: Add it first in the Webcams section, then come back here.
- It says a field is required: Make sure you selected a Webcam and entered a Title.
- The stream isn’t showing Live on my platform:
- Recheck the URL and Key — copy/paste them again from your platform.
- Make sure your destination (YouTube/Facebook/etc.) is ready to accept a live feed.
- Some platforms need you to click “Go Live” on their side too.
FAQs (plain and simple)
Section titled “FAQs (plain and simple)”- What is the URL and Key? These identify where your video should go (URL) and prove it’s your channel (Key).
- Can I change the Title later? Yes. Edit the stream anytime.
- Do I need the Watchdog? It’s optional. It helps keep streaming apps running. You can add it later.
Small glossary
Section titled “Small glossary”- Stream: Your live video session.
- Webcam: The camera sending video.
- URL (rtmp/rtmps): The address of your streaming server.
- Key: A secret code that links your stream to your channel.
For reference: test coverage
Section titled “For reference: test coverage”Our automated tests check:
- Streams list loads with key UI pieces
- Create wizard flows through all four steps
- Edit screen shows main fields
The screenshots in this guide are generated into docs/user guide/assets/ by those tests to help keep the guide current.